If you’re after giving your graphics a cool, glassy feel on Photoshop, look no further. Using a few Bezel and Emboss settings, you can quickly glam up text (and shapes too).
We’ve used Adobe Photoshop to complete this process, which is available separately or as part of Adobe Creative Cloud . Some students are eligible for an extended free trial of Creative Cloud , and there are also ways to get Photoshop for free .
- Time to complete: 30 minutes
- Tools required: Adobe Photoshop
- Cost: From $19.99/£19.97 per month (free trial available)
Step 1
Foundry
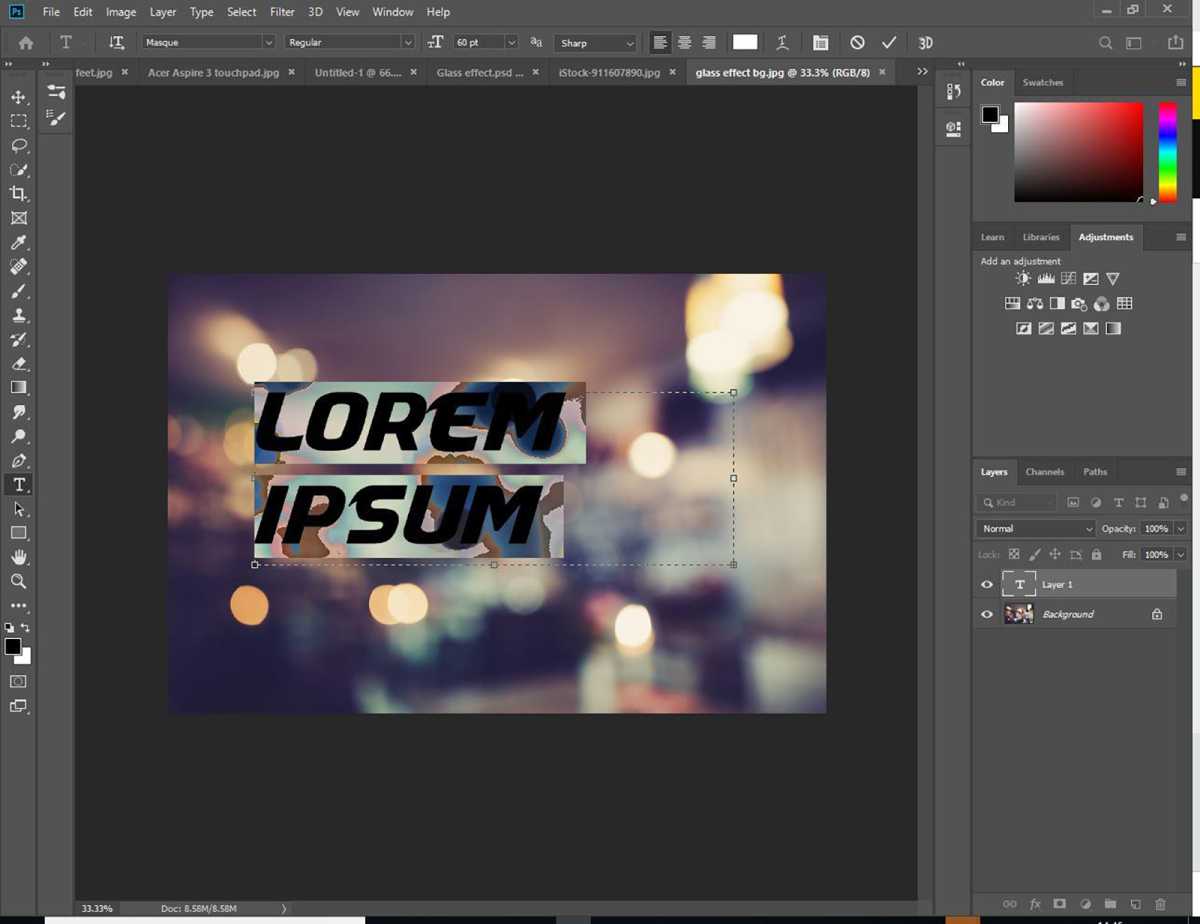
Use the text tool to create text. We’ve used a bokeh effect background image, but you can use any you prefer.
We’d recommend using a chunky typeface (or font) so you can really see the effect at work in the final stage.
Step 2
Foundry
Adjust the placement and size of the text according to your preferences.
Step 3
Foundry
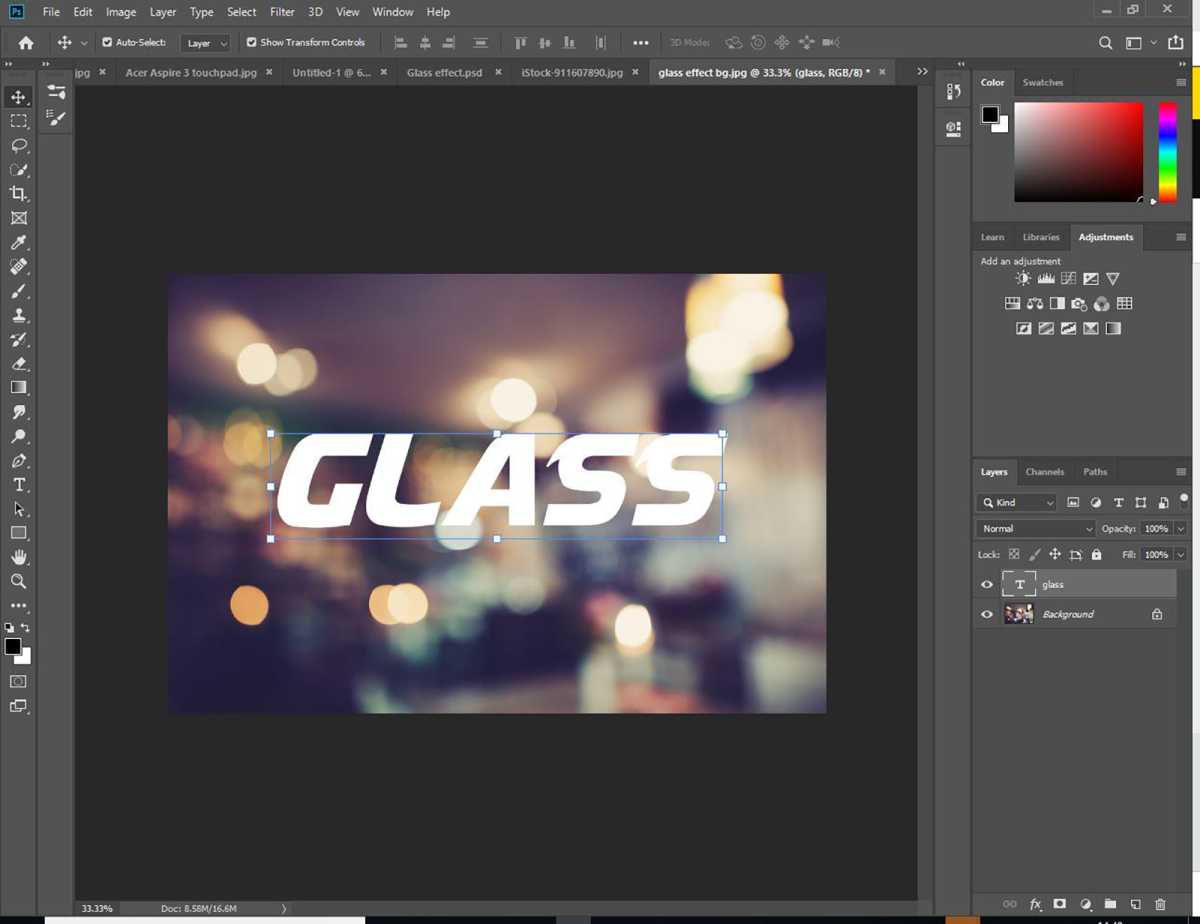
Click on the effects icon at the bottom of the Layers palette (we’ve circled it).
Step 4
Foundry
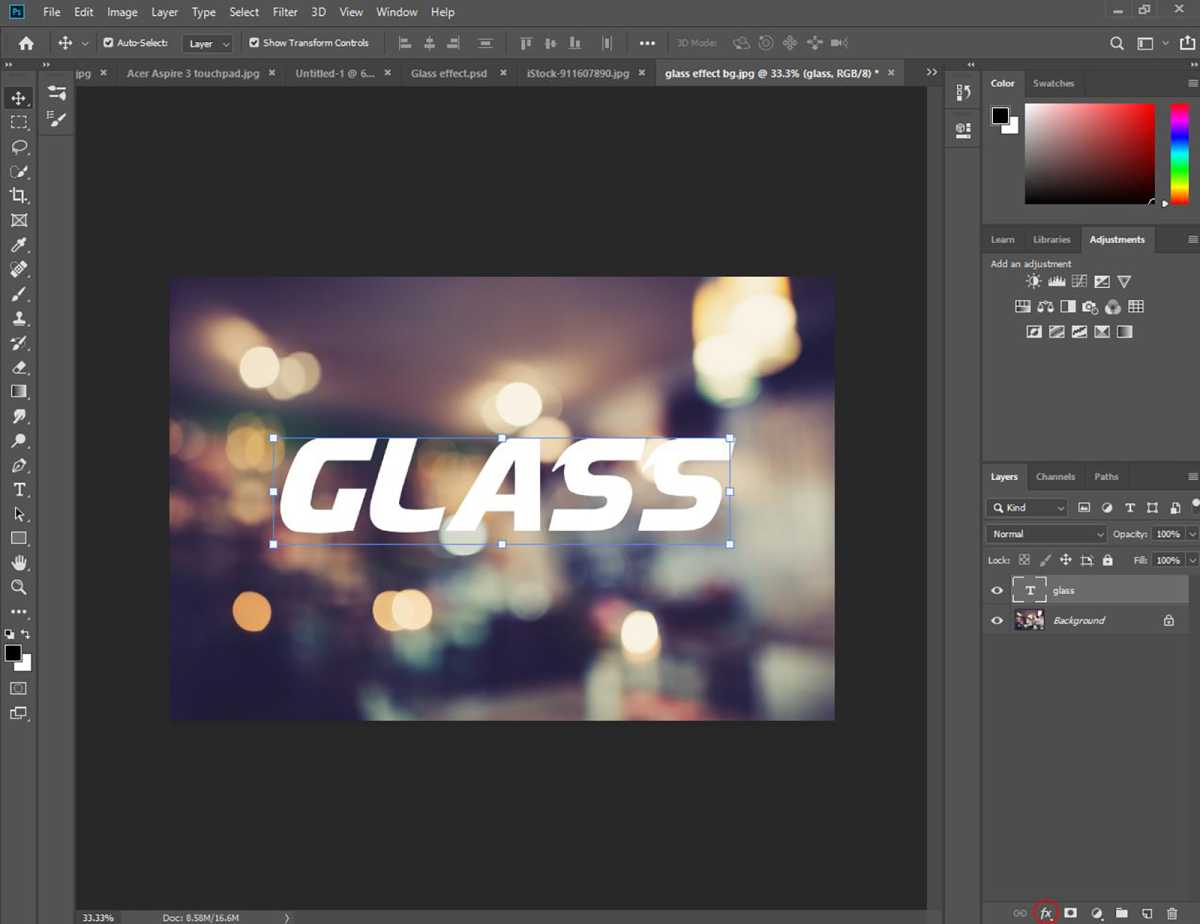
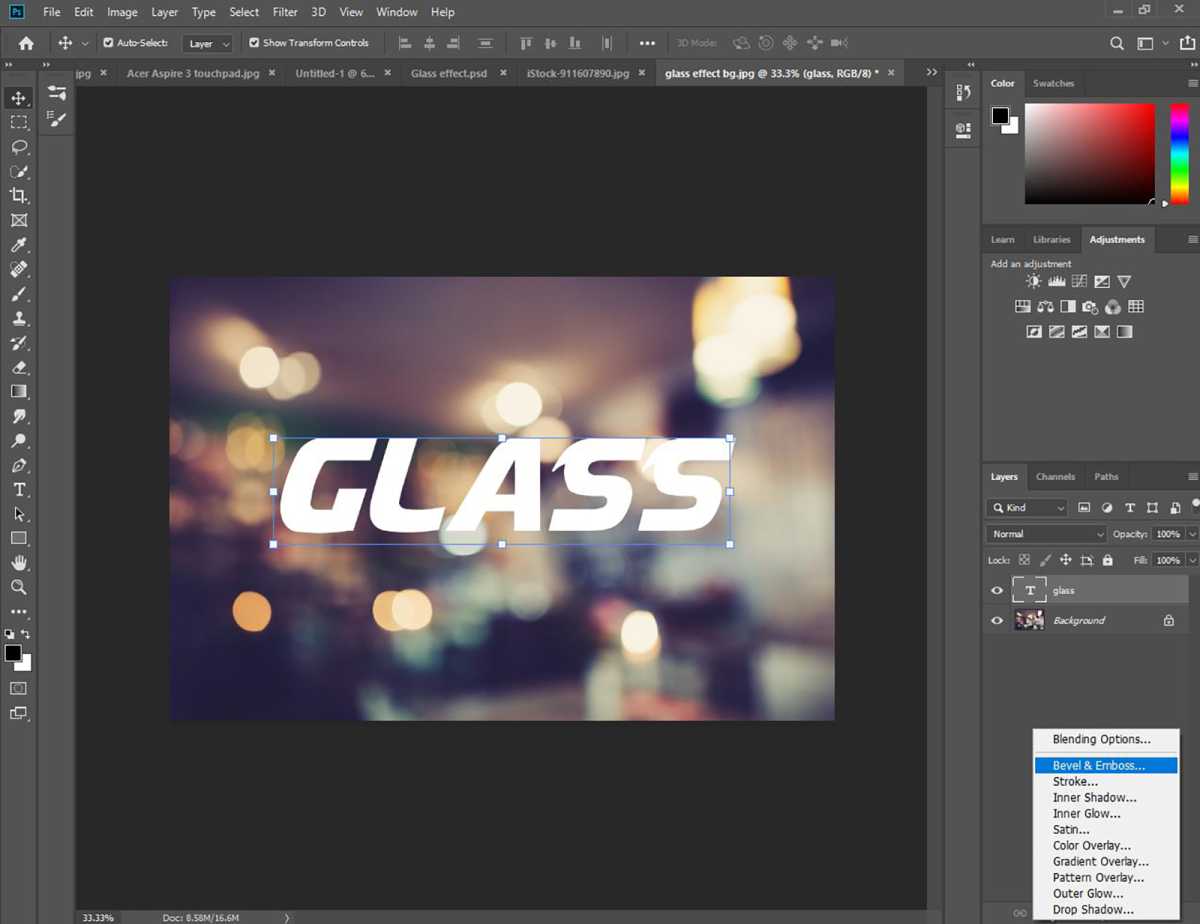
Choose Bezel and Emboss from the options.
Step 5
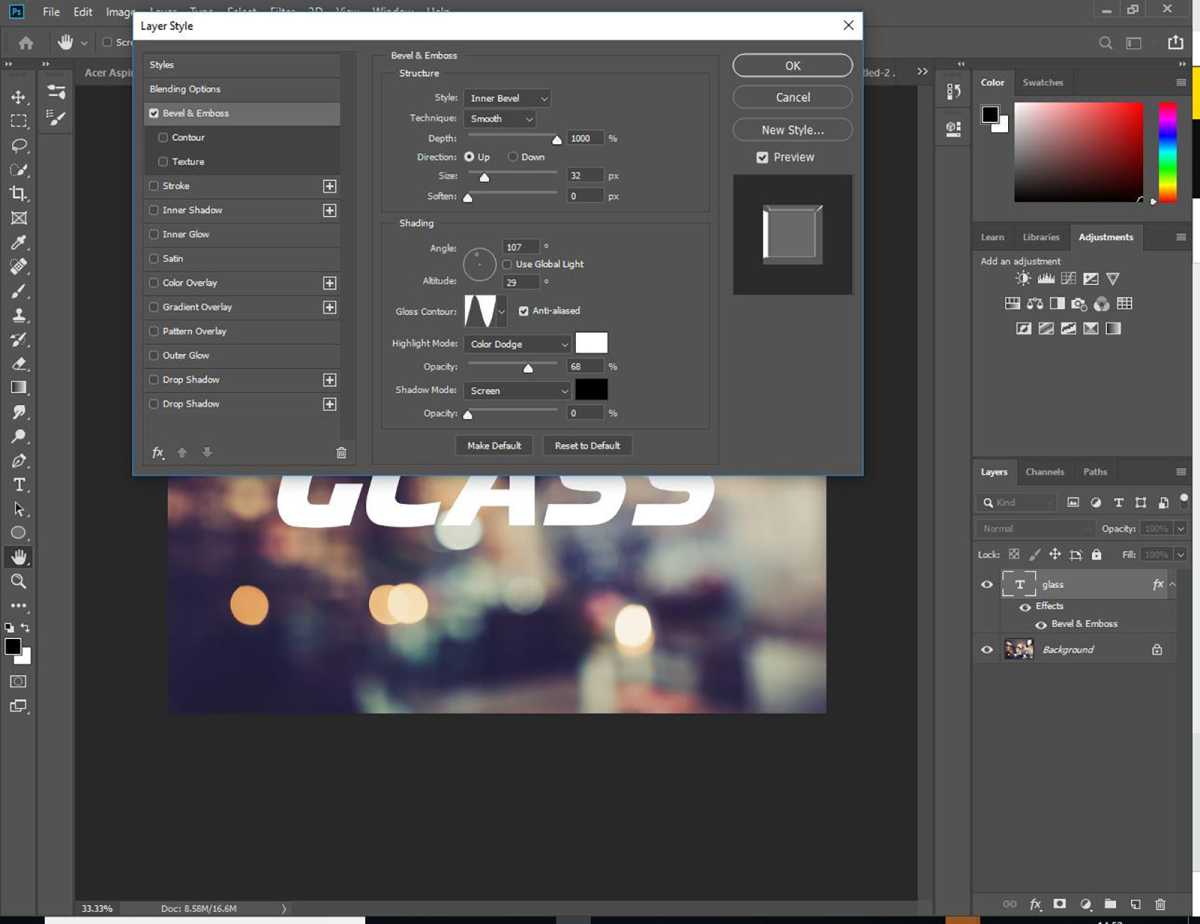
Foundry
You should see a panel that looks like this. We will modify the settings here to get our glass effect.
Now the fun begins…
Step 6
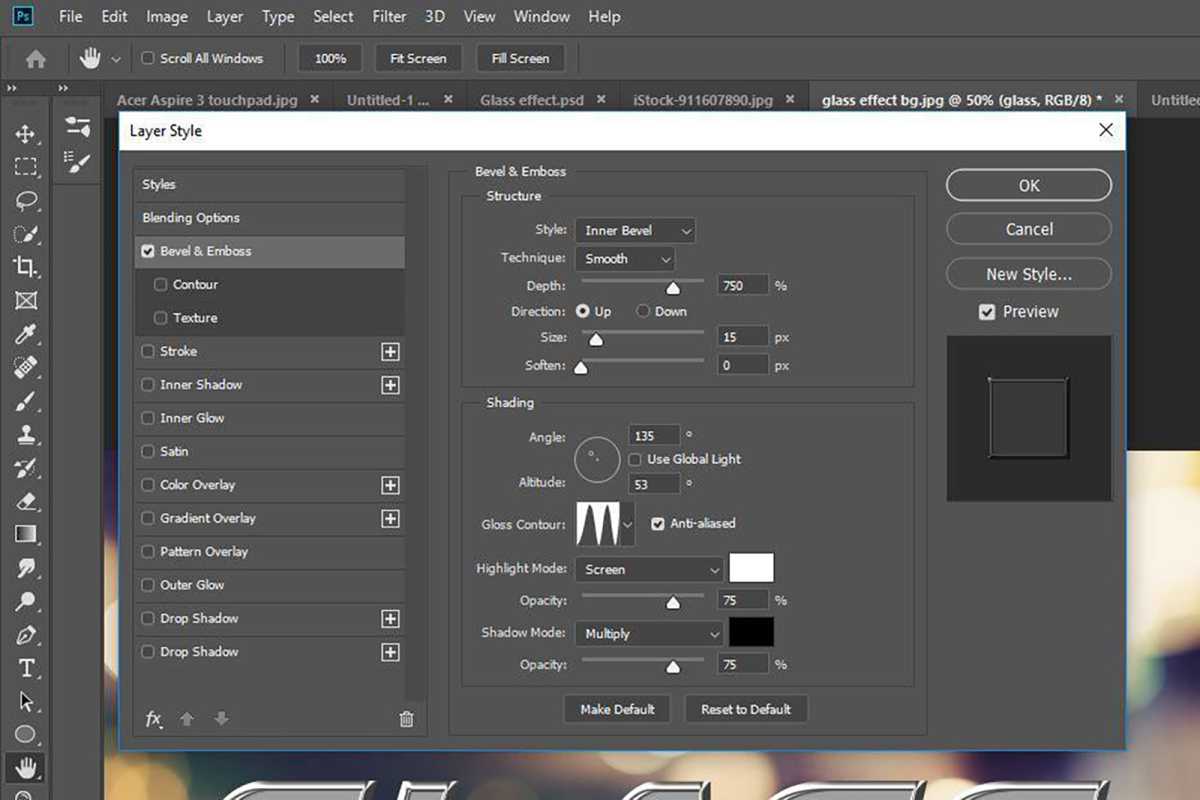
Foundry
Use the following settings we’ve applied here, making sure Global Light is turned off.
Under Gloss Contour, choose the Double Ring option and check that Anti-aliased is ticked.
Step 7
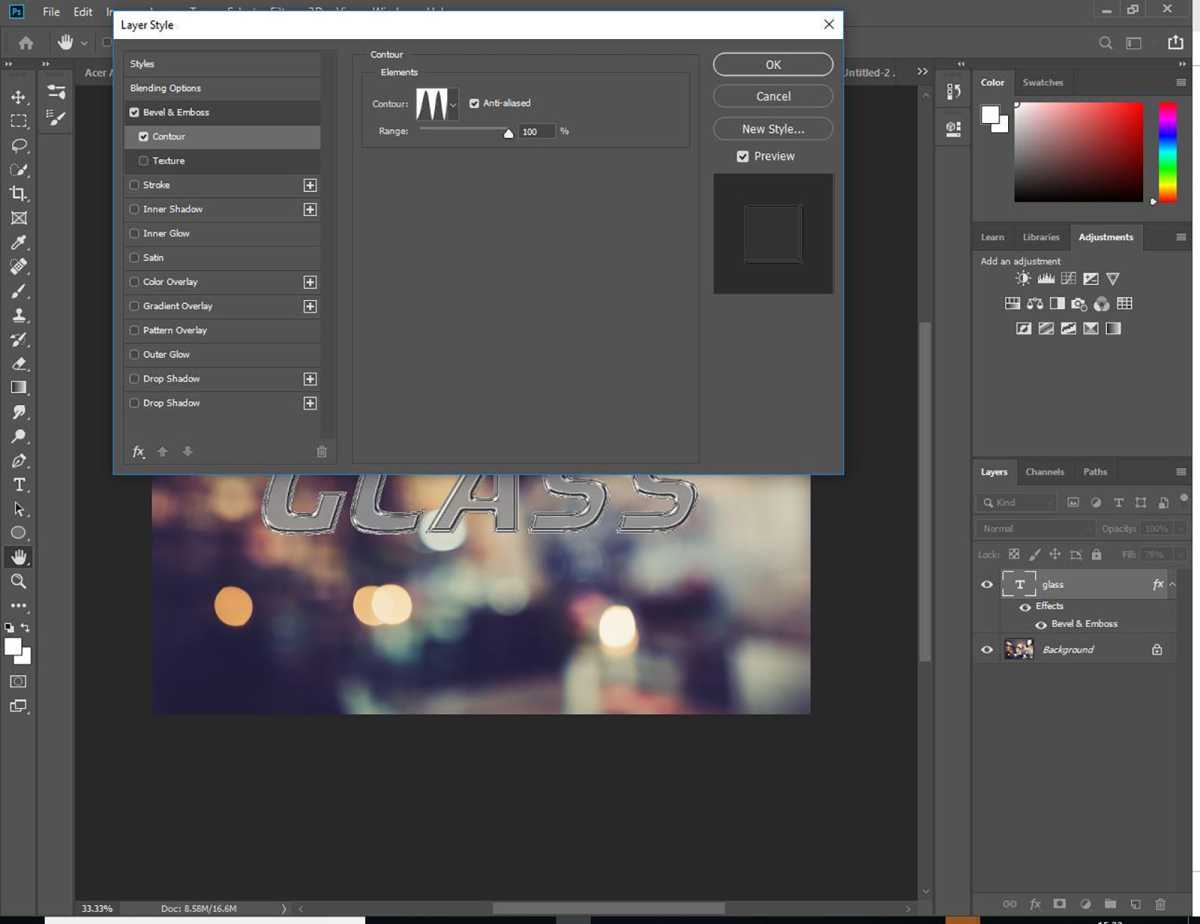
Foundry
On the left menu, click on Contour under Bevel and Emboss. Select the same Contour Gloss effect (Double Ring) and check that Anti-Aliasing is checked as well.
Step 8
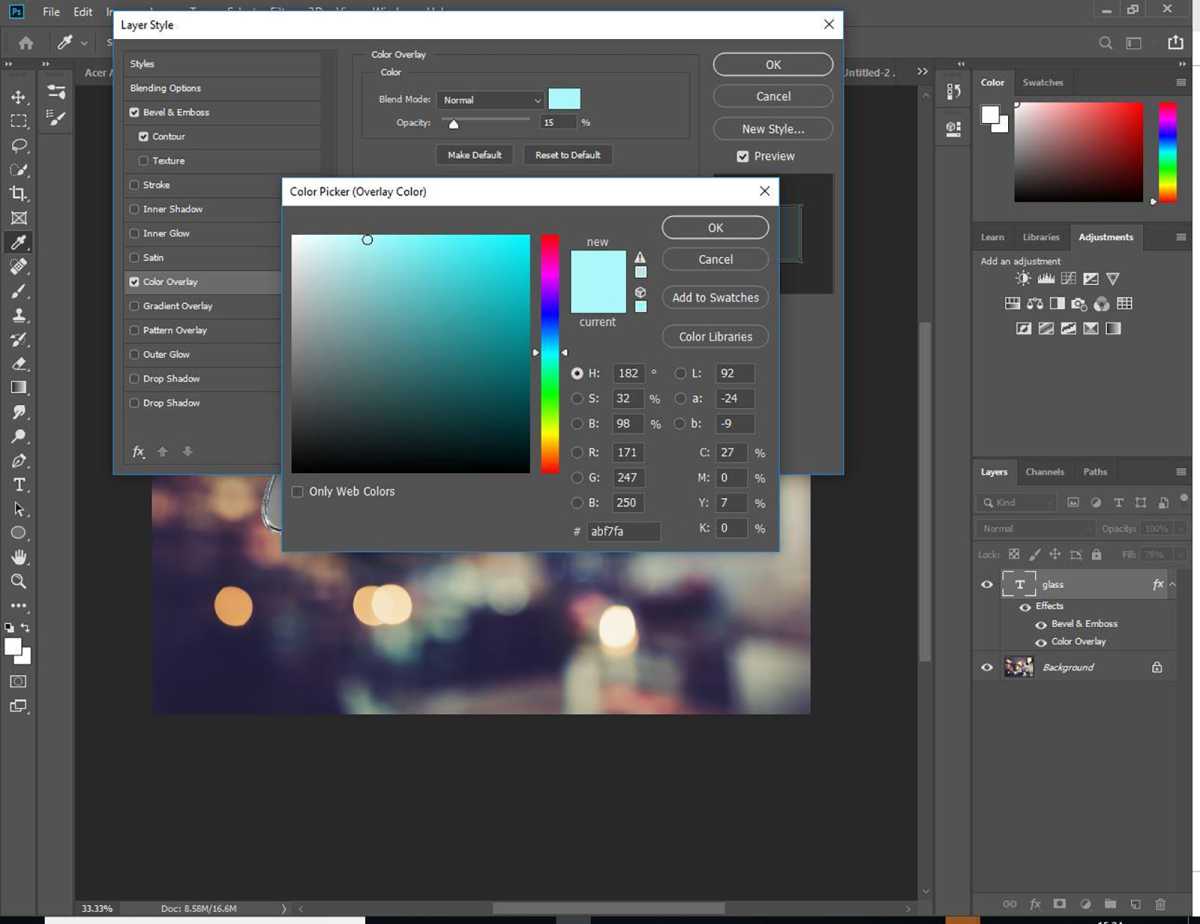
Foundry
Click on Colour Overlay from the menu on the left. We’ve chosen a light blue and have set the Opacity to 15%.
Step 9
Foundry
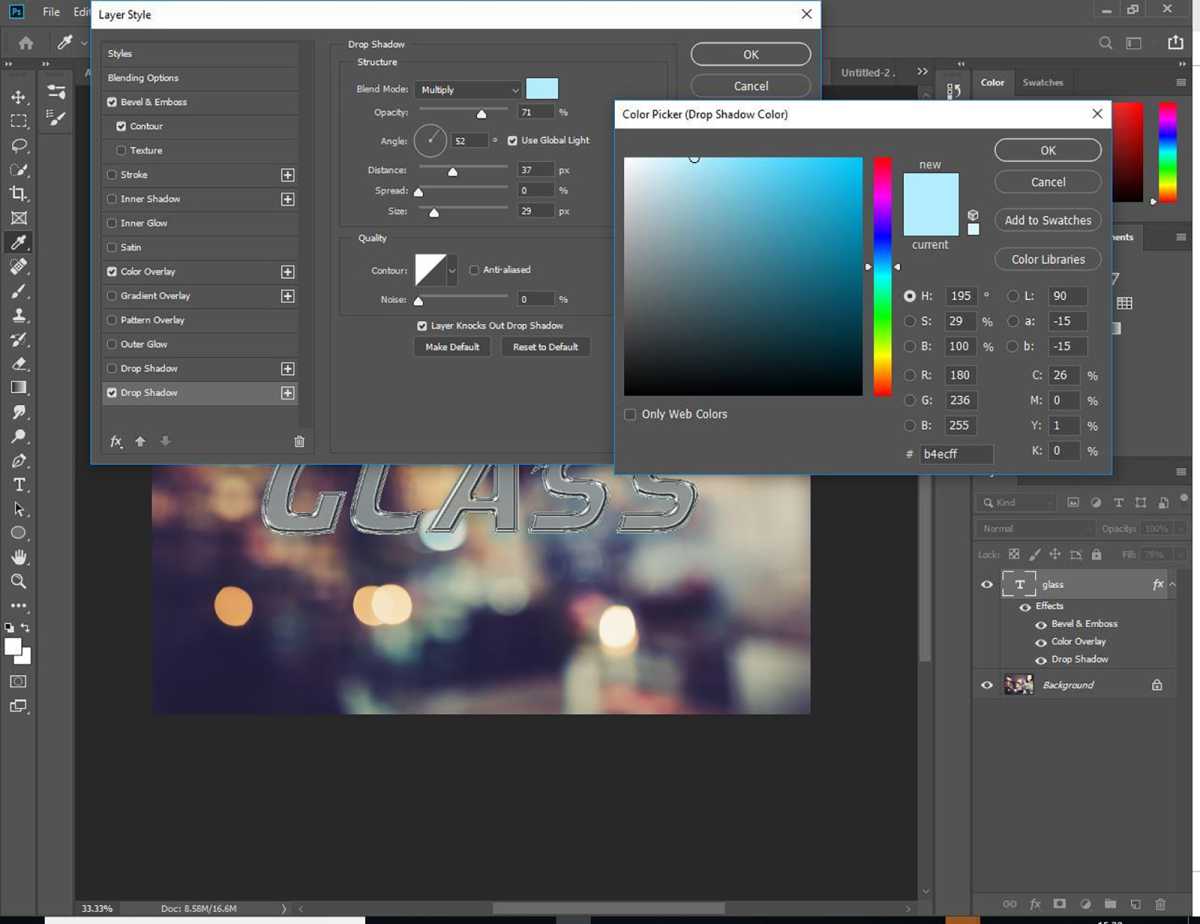
Next, we will add a bit of a drop shadow. To do this, click on Drop Shadow at the bottom the menu on the left.
We’ve chosen a light blue colour again and reduced the opacity to around 70%.
Now you can play around with the distance, spread and size of the shadow until it looks right and natural for your image.
Click OK when you’re ready.
Step 10
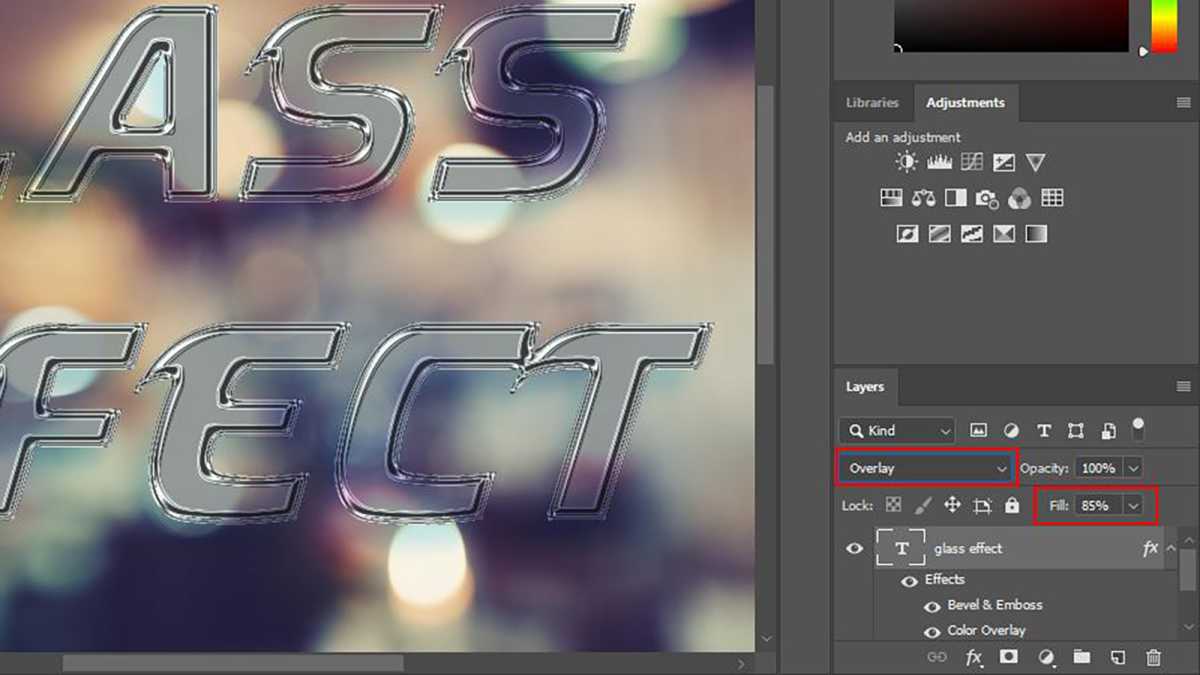
Foundry
Change the Layer mix to Overlay and then reduce the Fill. We’ve reduced ours to 85%, but you can play around with the figure to see what works best for your image.
Step 11
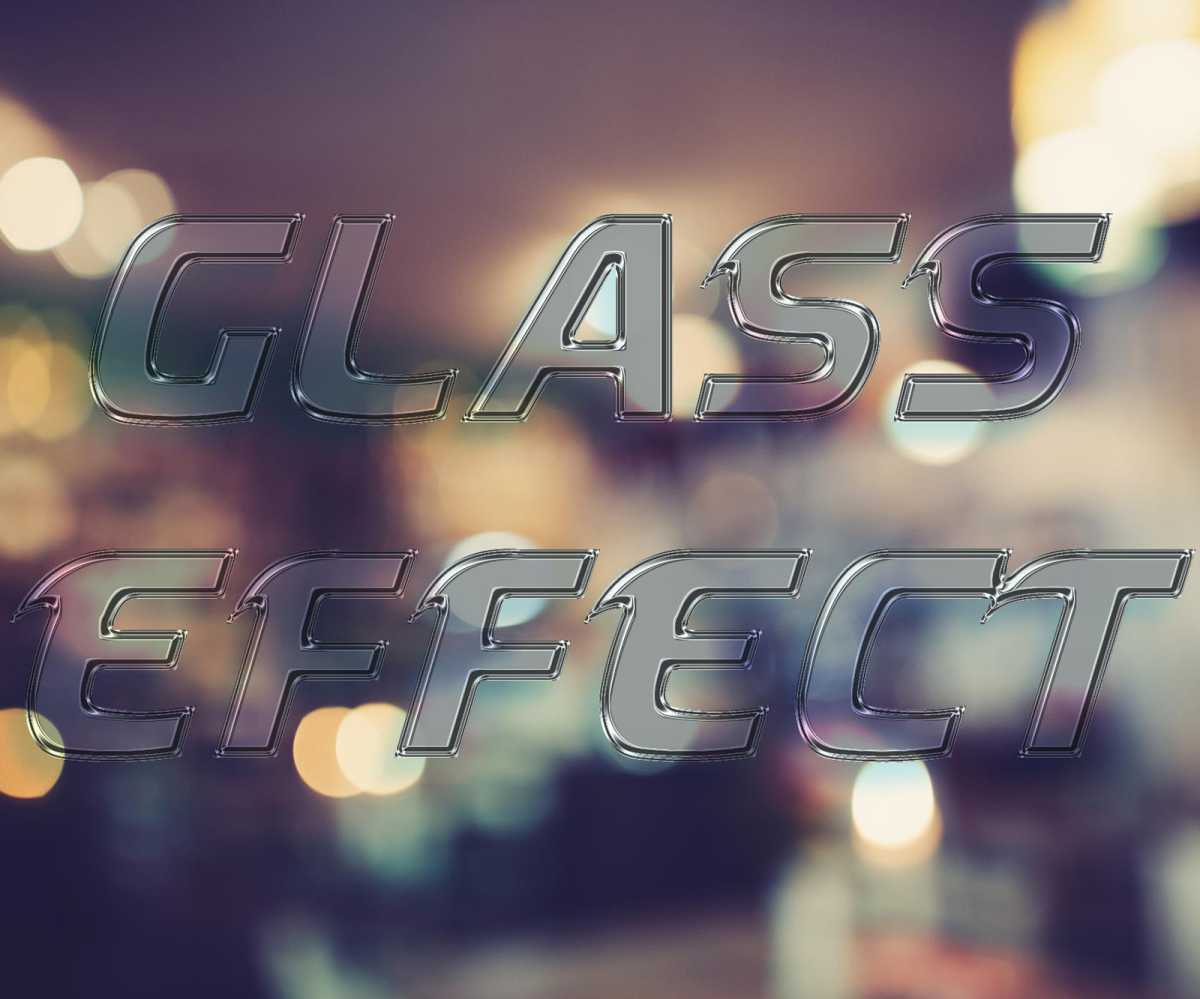
Foundry
Playing with the Fill and Layer Mix allows the background to shine through and makes the text look more transparent and convincing as glass. This was our final product.
Author: Somrata Sarkar, Contributor, Tech Advisor

Previously a Tech Advisor Senior Staff Writer, Somrata researches and writes about the best tech deals to help readers make smart, informed buying decisions. She’s an expert on accessories and also reviews laptops, phones, audio and other devices.
Recent stories by Somrata Sarkar:
- Is Adobe CC free for students?
- Get 41% off Adobe CC for a year & extra discounts for students
- Does Windows 11 come with Microsoft Office?
