Taking a screenshot is something many of us do every single day, and it’s useful in a variety of situations.
Want to keep something important for future reference, share it with a friend or get remote tech support? A screenshot is the easiest way.
Microsoft makes it easy to take and store them in Windows, whether you’re using a Windows 10 or Windows 11 device.
But with so many different methods to choose from, how do you decide which is right for you? This article runs through all seven that are built into Windows, plus the option to go via third-party software.
How to take a screenshot on Windows
Windows 11 includes a lot of changes compared to Windows 10, but the ways you take a screenshot remain the same. There are plenty of them, too:
Print Screen
This is the most obvious way to take a screenshot, but also one of the less convenient.
To capture all the screens you’re working on, simply hit the Print Screen key (often abbreviated to ‘Prt Scr’) on your keyboard. It’ll either be one of the F keys or located next to it, although you’ll need to hold down the Fn key at the same time on some newer devices.
However, the screenshot you take here isn’t saved to File Explorer, but simply stored on your keyboard.
If Clipboard history is enabled (go to Settings > System > Clipboard to check), hit the Windows key + V to view all recent screenshots and copied text and paste them wherever you’d like. But if this setting is off, Ctrl + V will only paste the most recent one.
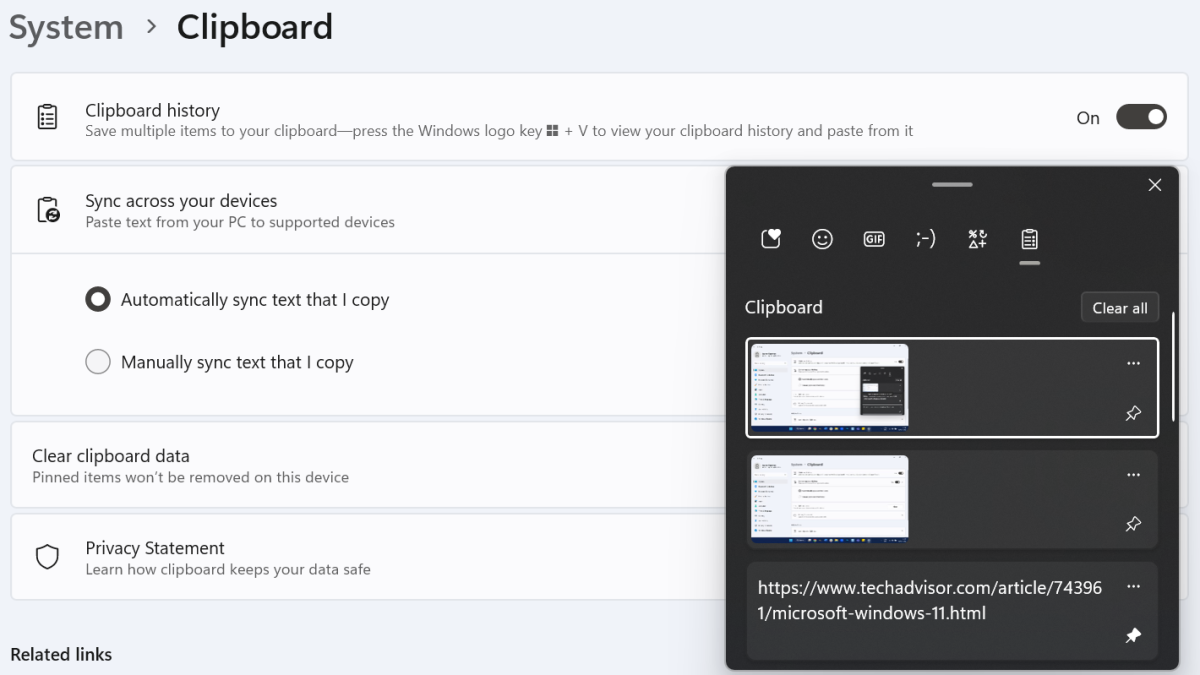
Anyron Copeman / Foundry
Alt + Print Screen
This solution works just like the above button, but pressing Alt and Print Screen keys at the same time saves only the active window.
If you have lots of apps open or are connected to an external monitor, you won’t see them. Unlike a regular screenshot, the taskbar also won’t be visible.
Windows + Print Screen
After using the Windows Key + Print Screen shortcut, the screen should go dark for a brief moment. Your entire workspace will now be captured and stored within the Screenshots folder.
To find it, head to File Explorer > Pictures > Screenshots. By default, the naming format ‘Screenshot (X)’ is used.
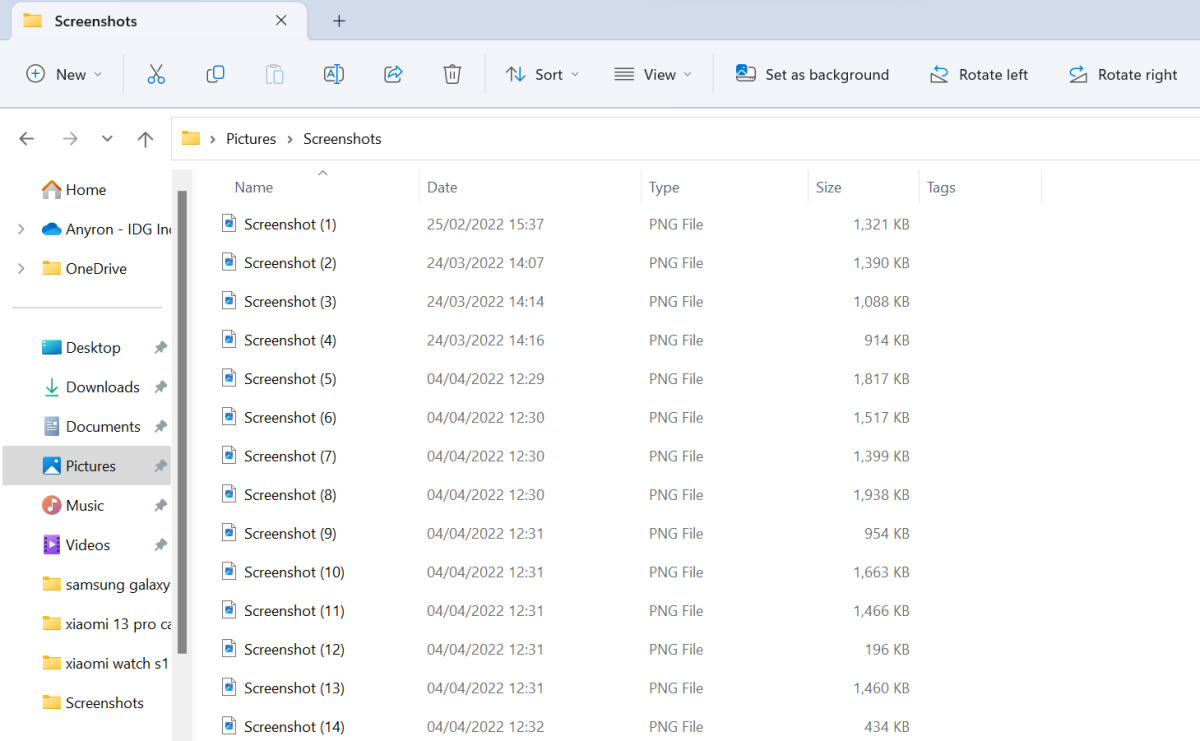
Anyron Copeman / Foundry
Windows + Shift + S
If you want to only screenshot a specific part of your display, the Windows + Shift + S shortcut is the best option.
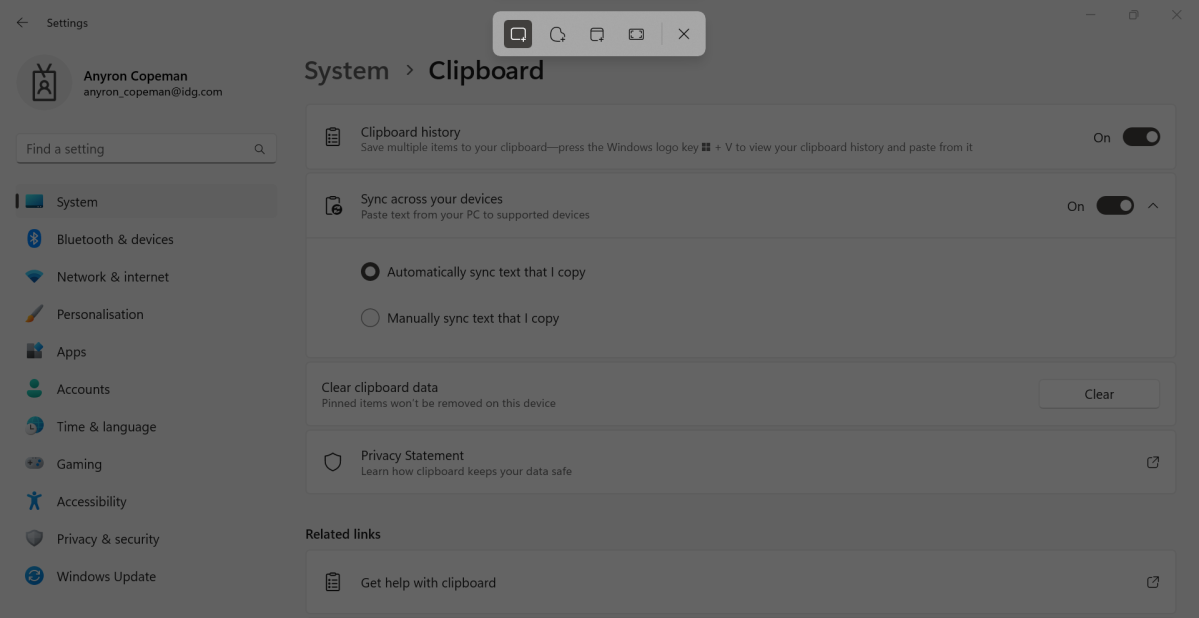
Anyron Copeman / Foundry
Hitting those three keys will bring up a simple menu, allowing you to choose between rectangular, freeform, window and full-screen snips. The screenshot will be added to the clipboard and the Snipping Tool will appear, allowing you to make any edits and save it your device.
Snipping Tool
However, you can still go via Snipping Tool to capture screenshots. Search and open it like you would any app, then click the ‘New’ button in the top-left corner. The same options that you see above will now be available.
But the Snipping Tool can also be used to capture video, plus add a delay of three to ten seconds before the screenshot is taken.
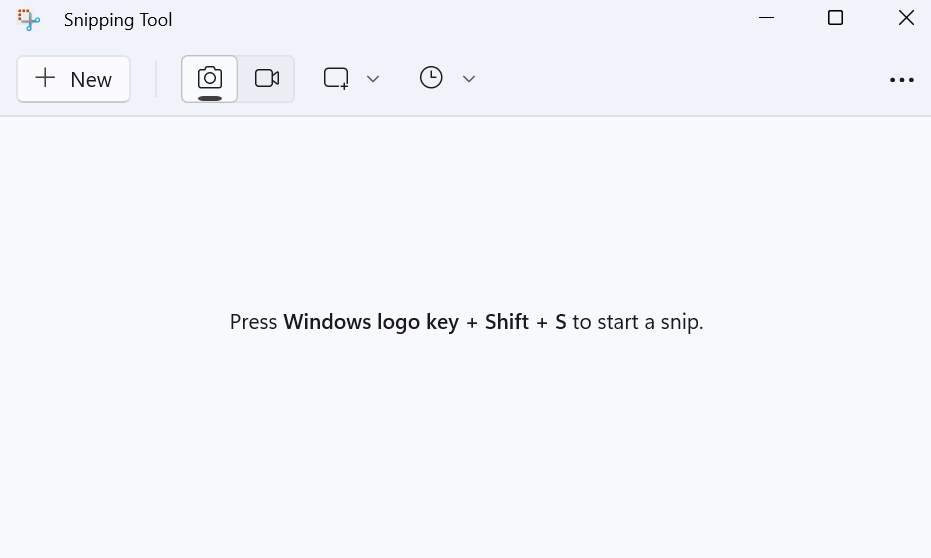
Anyron Copeman / Foundry
Power + Volume Up
If you have a tablet running Windows 11 or 10, screenshots are taken in a similar way to iOS and Android devices.
However, instead of pressing the power and volume down buttons at the same time, Windows requires you to use power and volume up instead. Your capture will then be saved in the Screenshots folder of the File Explorer, where you can crop and edit it like usual.
Xbox Game Bar
As the name suggests, the Xbox Game Bar is designed for gamers to capture screenshots and videos while they’re playing. But it can also be used for regular screenshots, albeit only the entire display to the clipboard.
Open the Game Bar via the Windows + G shortcut, then click the Capture button (looks like a circle inside a TV) if it’s not already. Click the camera icon from the menu that appears, then you should see a message saying ‘Screenshot saved’.
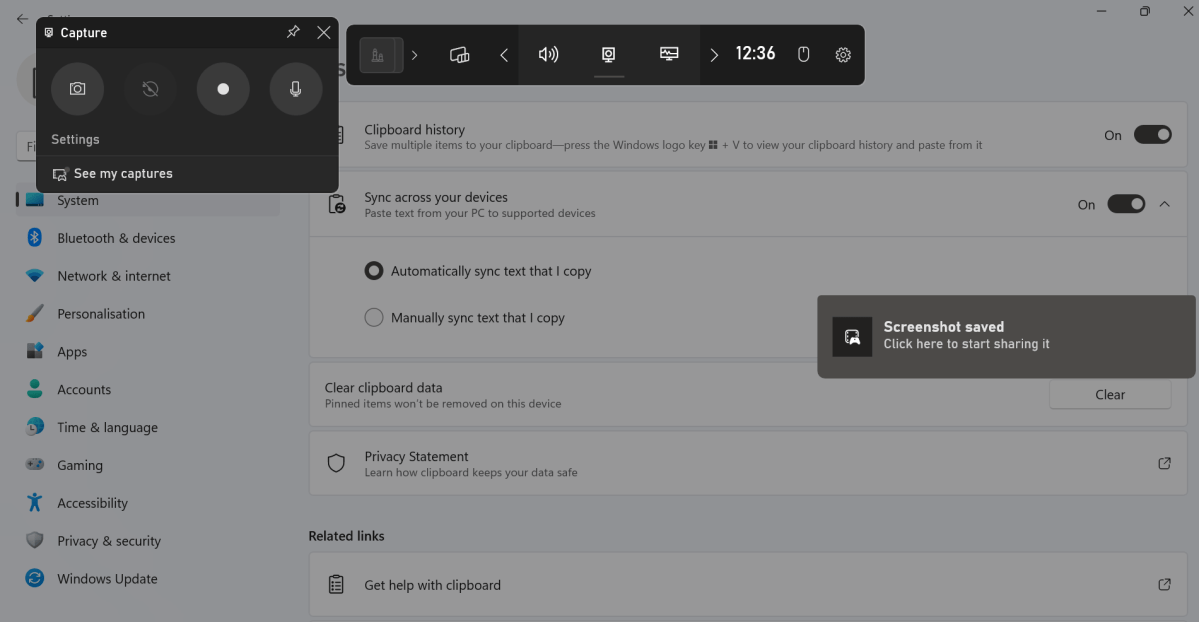
Anyron Copeman / Foundry
Click that message, then you’ll be taken to a separate Gallery for sharing options. Creating a meme or posting on Twitter are both prominently featured.
How to take a Windows screenshot using third-party software
The last solution is to use one of the numerous third-party applications for creating screenshots. These might be dedicated applications such as Screenshot Captor or SnapDraw , or browser extensions such as Fireshot and Nimbus .
Our favourite is Snagit , which also offers extensive tools for marking up and annotating screenshots. The 2023 version is free for 15 days, after which it’s a one-off fee of $62.99 / £62.14 .
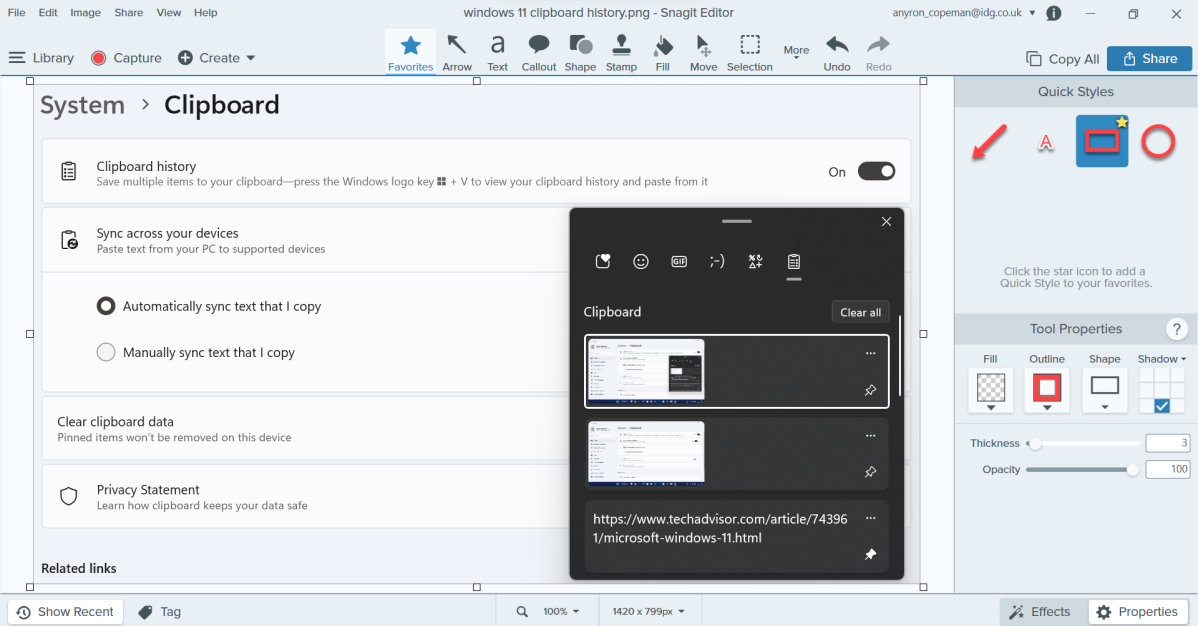
Anyron Copeman / Foundry
But there are many options out there – it’s worth trying a few and seeing what works best for you.
Author: Anyron Copeman, Mobile Editor, Tech Advisor

Anyron is Mobile Editor at Tech Advisor, where he’s been a mainstay of the editorial team since 2019. In his current role, Anyron is responsible for all smartphone, tablet and mobile network coverage on the site. A BA Journalism graduate, he has experience with a wide range of consumer tech products and services, including smartphones, tablets, foldables, wearables and more.
Recent stories by Anyron Copeman:
- These are the best backpacks and sleeves for carrying your laptop, tablet and tech
- Tech Advisor’s Best of MWC 2025 Awards
- Apple could launch an 18-inch foldable device by 2028
