If you’re looking to add volume and neaten up hair, this Photoshop hair tutorial by photographer, retouched and educator Tigz Rice will give you all the tips and tricks you need. You’ll learn techniques including how to master the Liquify tool, dodge and burn, cloning using the Darken blending mode and a little touch of Frequency Separation.
Tigz has used a male model here, and concentrated more on the beard – but the Photoshop techniques described here will work for both male and female subjects, and for hair on the top of their heads, beards and moustaches and elsewhere (for when you need to give your model a Tom Selleck-esque chest wig).
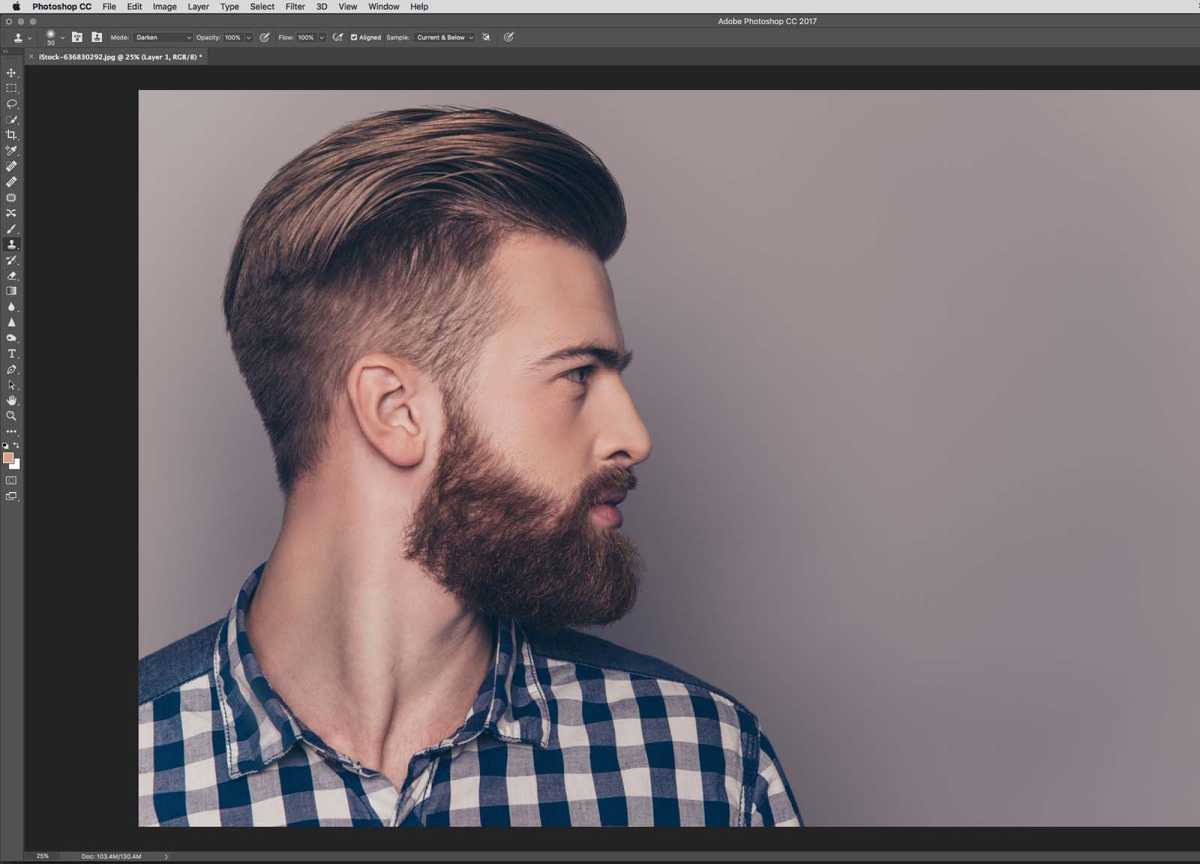
You can download the photo Tigz has used here , or you could use your own.
We’ve used Adobe Photoshop to complete this process, which is available separately or as part of Adobe Creative Cloud . Some students are eligible for an extended free trial of Creative Cloud , and there are also ways to get Photoshop for free .
- Tools required: Adobe Photoshop
- Cost: From $19.99/£19.97 per month (free trial available)
Step 1
Foundry
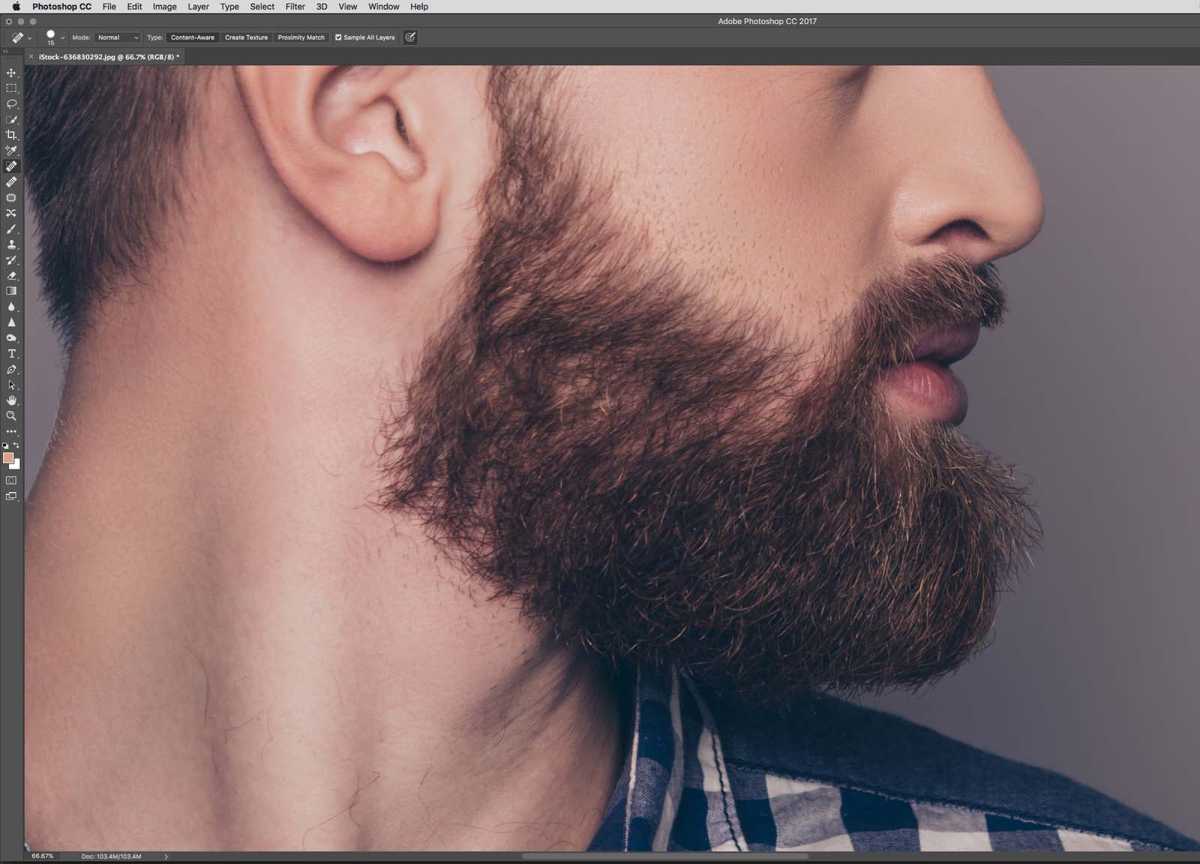
Open your image and select the Healing tool.
Step 2

Foundry
Remove any obvious stray hairs around the edge of the hair line and facial hair.
Step 3
Foundry
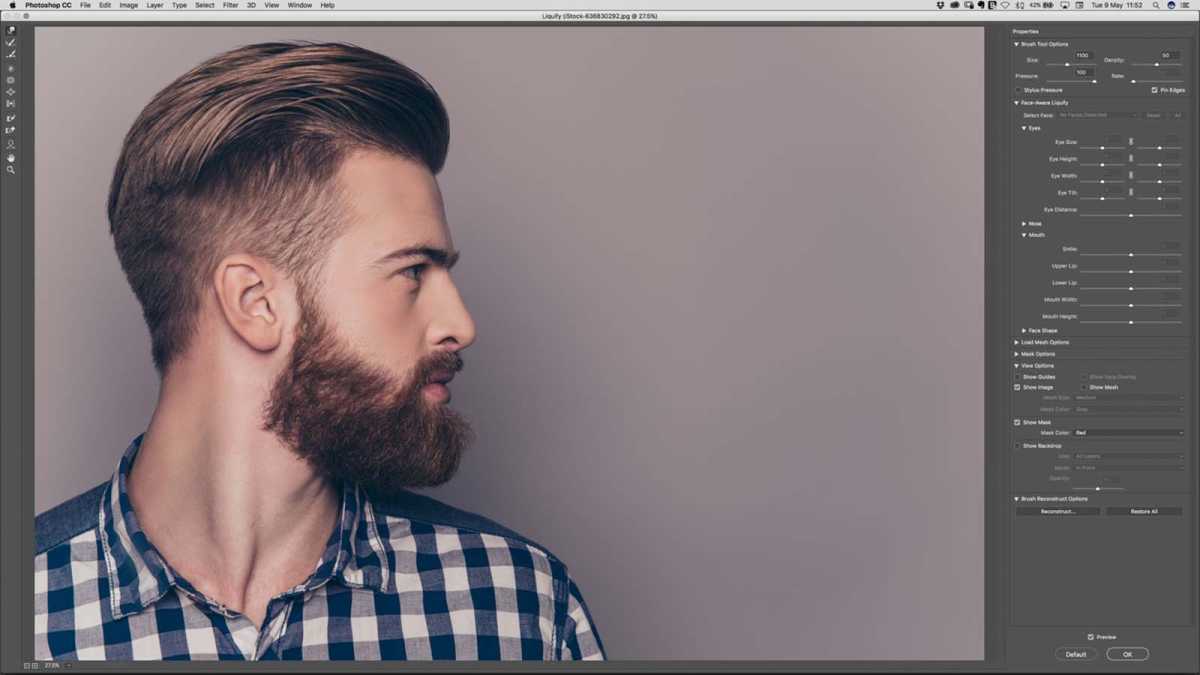
Next, go to Filter > Liquify and use short strokes to give the main hair line a little more volume. Specifically for this image, I also neatened up the back of the hair line a little too. You can see the results in the next step.
Step 4

Foundry
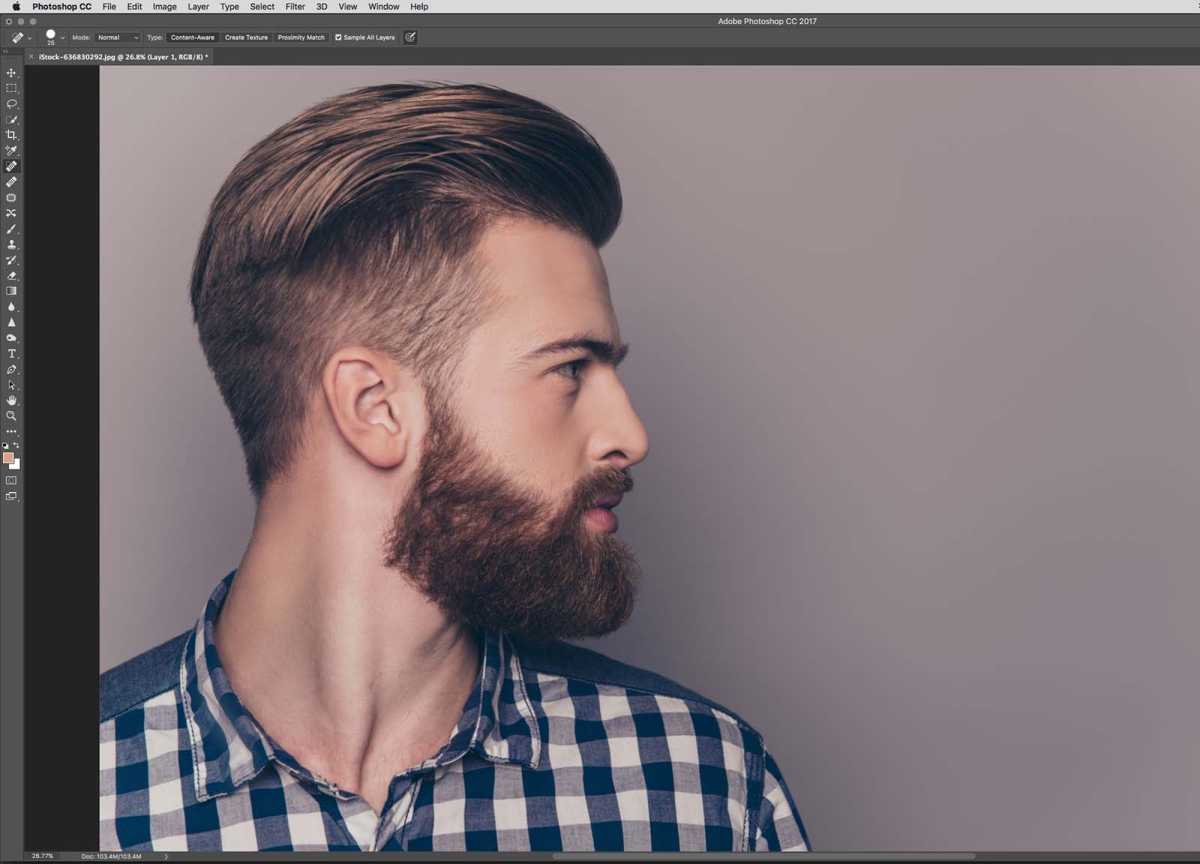
This is the result of the previous step, with added volume to the hair and a neater back.
Step 5

Foundry
Still with the Liquify tool, neaten the shape of the beard a bit – here bringing in some of the hairs on the chin. Be careful – if you go too far, the edges of the beard will look too perfect and it won’t look realistic.
Step 6
Foundry
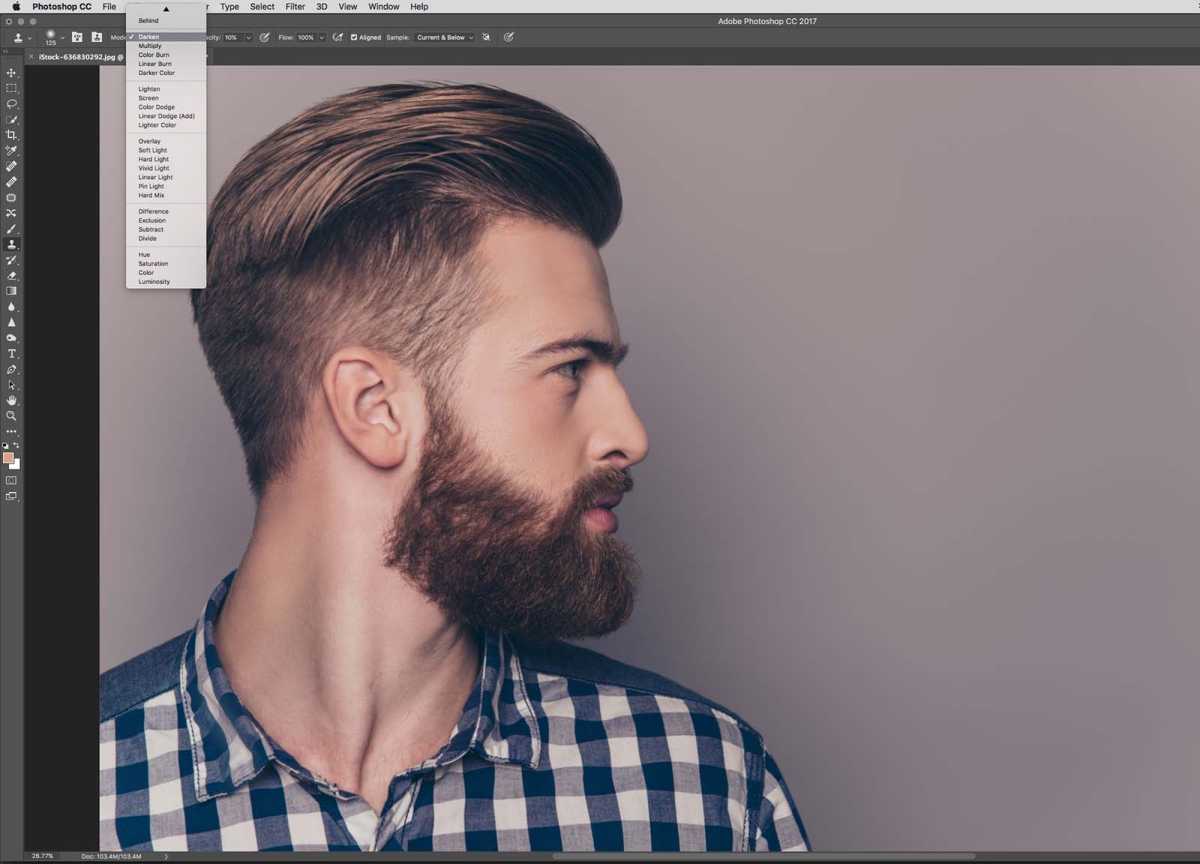
Now, lets go and start filling in some of those gaps in the hair.
First, create a new blank layer and set its blending mode to Darken.
Step 7
Foundry
Then choose the Clone tool and set its blending mode to Darken too.
Step 8

Foundry
You also need to make sure your Clone Tool is set to Sample Current and Below.
Step 9
Foundry
This ‘Darken Clone’ tool is great for filling in areas where you have an almost identical source point to clone from.
Step 10

Foundry
Hold down Alt and click with your pen or mouse to set your source point and then brush in any areas you need.
Step 11
Foundry
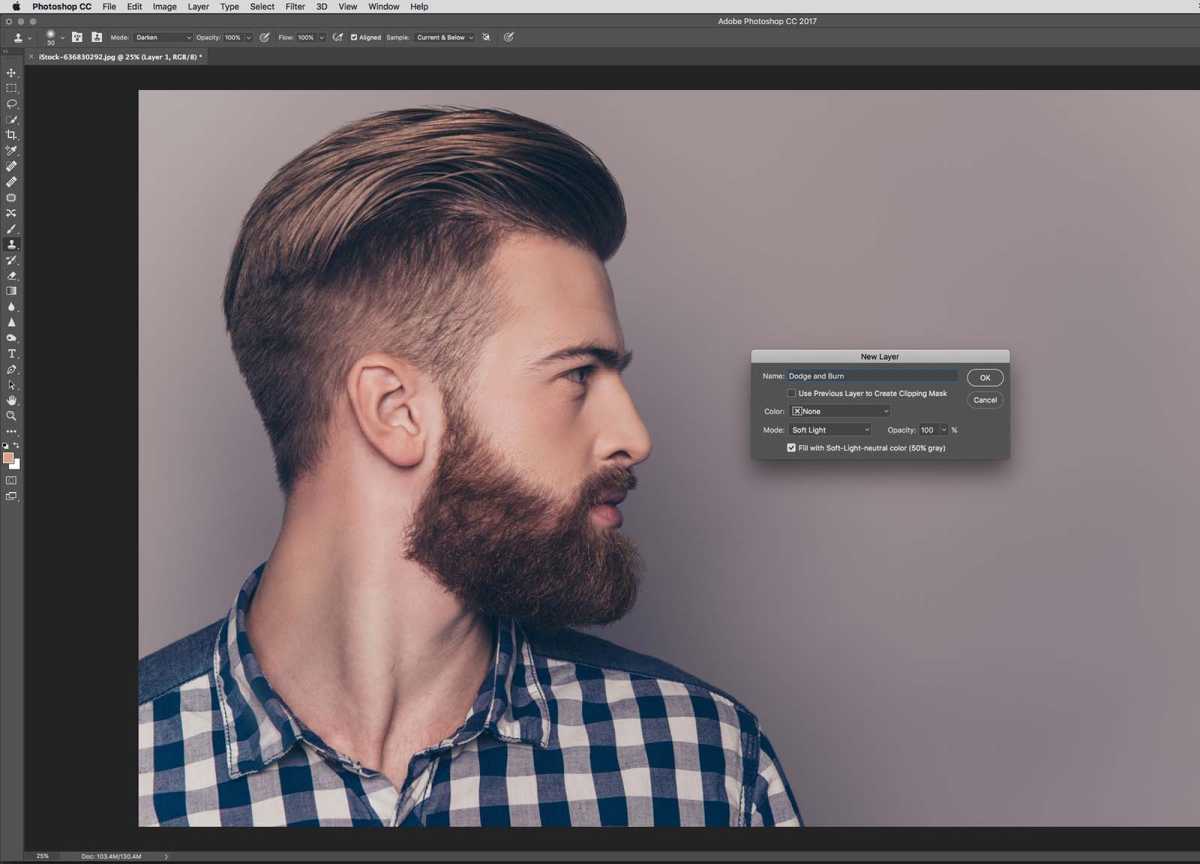
For some of the more difficult areas, use a ‘Dodge and Burn’ layer. Click Cmd/Ctrl + Shift + N to bring up the New Layer dialog box. Set the blending mode to Soft Light and check Fill with Soft-Light-neutral color (50% gray). Press OK.
Step 12

Foundry
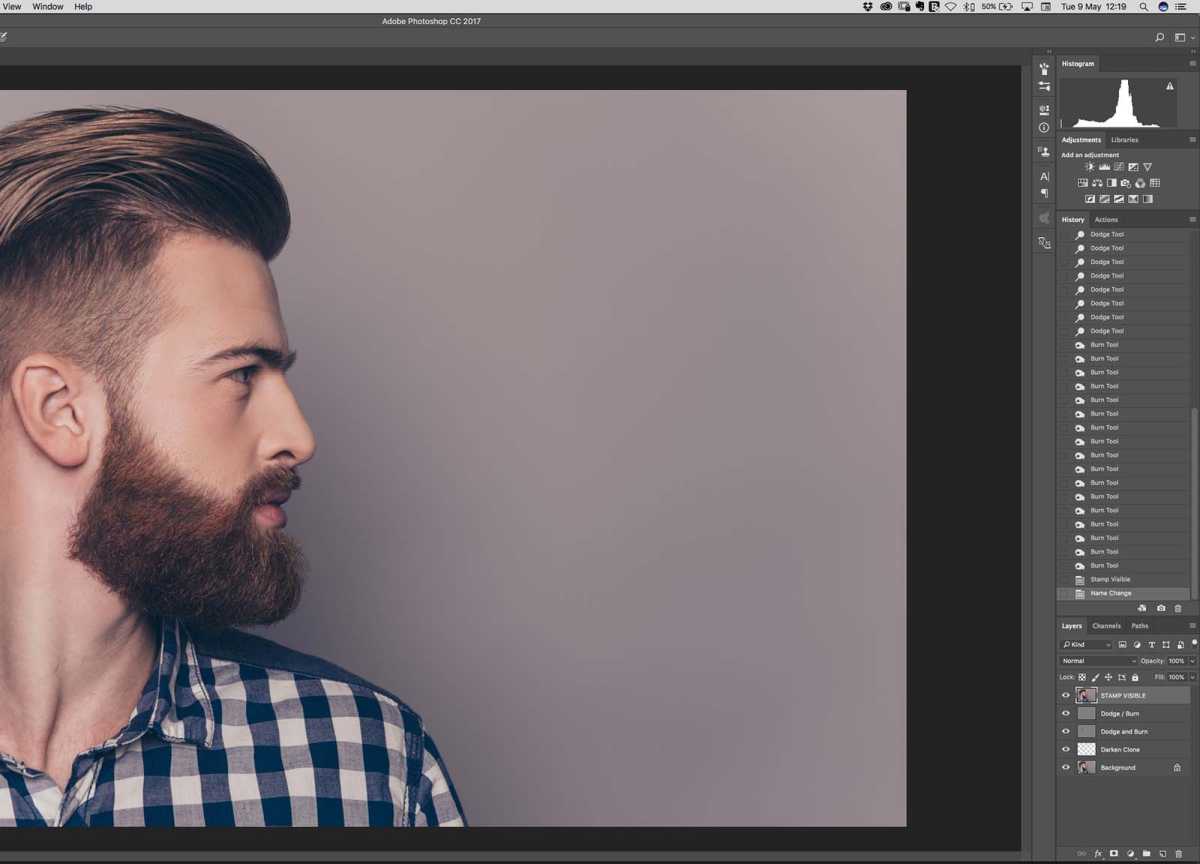
Select the Burn tool and set its Range to Midtones and its Exposure to about 20%. Then burn in some of the gaps in the hair.
This will be especially good for the sides of the hair where the hairs are shaved and there is little in the way of detail.
Step 13

Foundry
Next we’re going to add more detail to the hair. First change the Burn tool’s Exposure to 40%, and match the brush size to the size of the hairs on the beard.
Step 14

Foundry
Now use the Burn tool to bring in more hair detail. You can also lighten some areas of the hair if required.
Step 15
Foundry
For those sections that need just a little extra boost, lets use Frequency Separation. First press Cmd + Alt + Shift + E to create a new layer above the others with a flattened version of all of your visible layers.
Step 16

Foundry
In the Layers panel, duplicate your image twice and rename these to High Frequency and Low Frequency in the order shown.
Step 17
Foundry
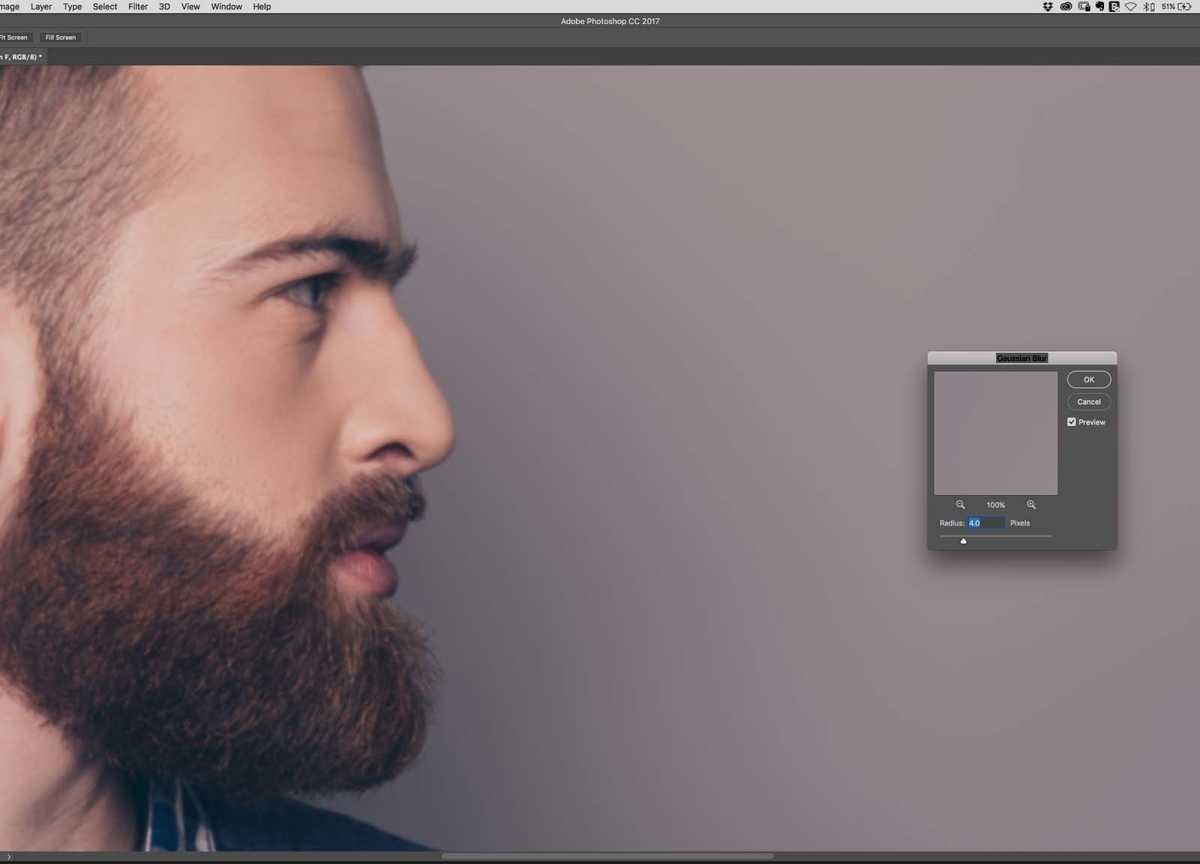
Still in the Layers panel, hide the High Frequency layer by clicking the eye icon and select the Low Frequency layer.
Go to Filter > Blur > Gaussian Blur . You want to blur the image until the sharp detail has gone, usually about 4px. This is the layer that holds our colour information.
Step 18
Foundry
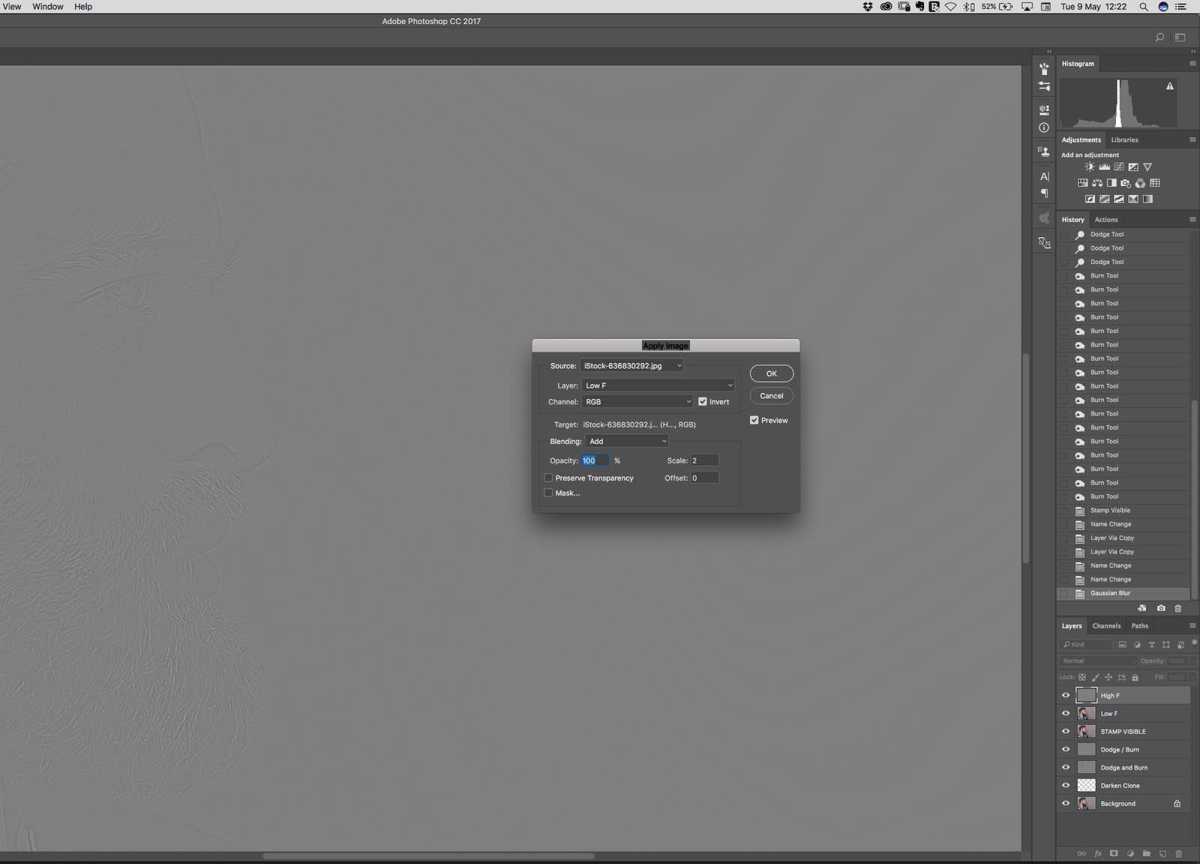
Select the High Frequency layer in the Layers panel and turn on its visibility again. Go to Image > Apply Image… and copy the settings shown in the dialog box above.
Once Done press OK. This layer holds our texture information.
Step 19
Foundry
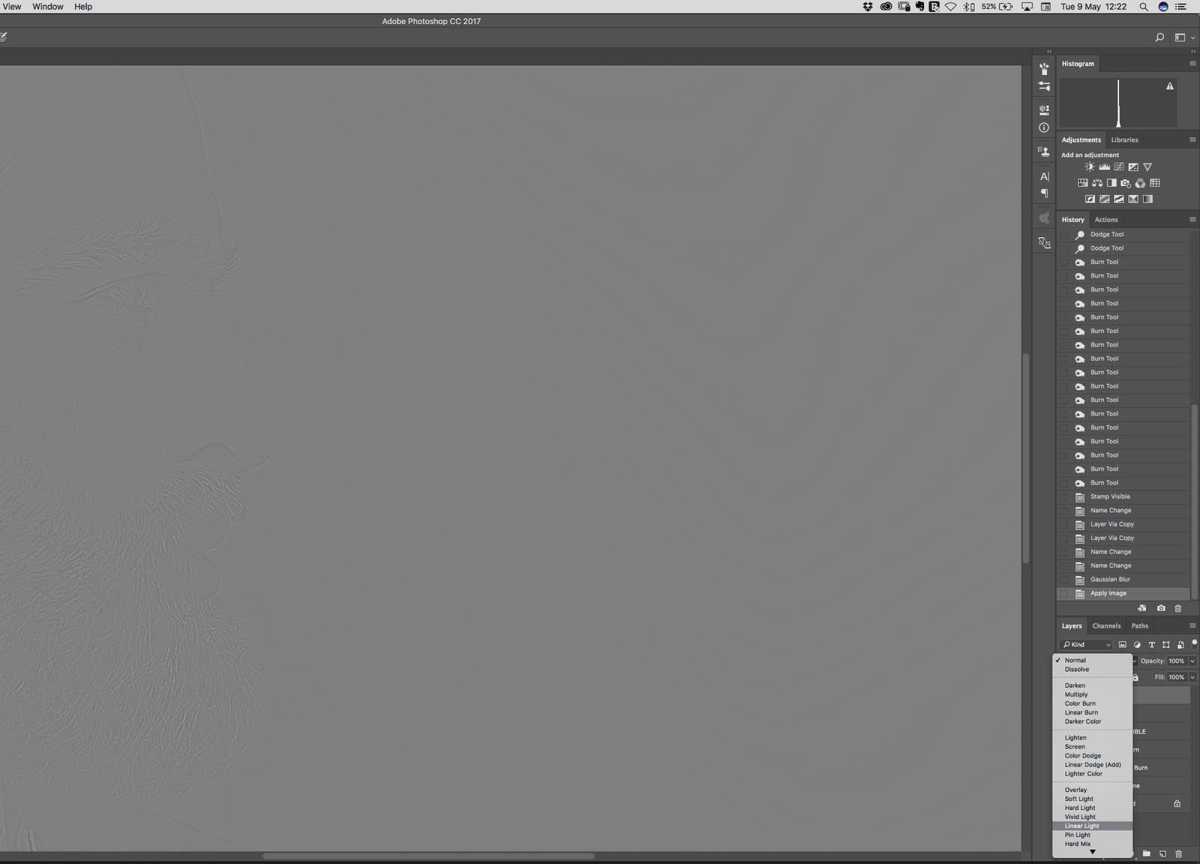
Right now your High Frequency layer will be grey. Change the layer’s blending mode to Linear Light and your image should return to its normal state.
Step 20
Foundry
Now we’ve separated our image by colour and texture, we can begin our main edit.
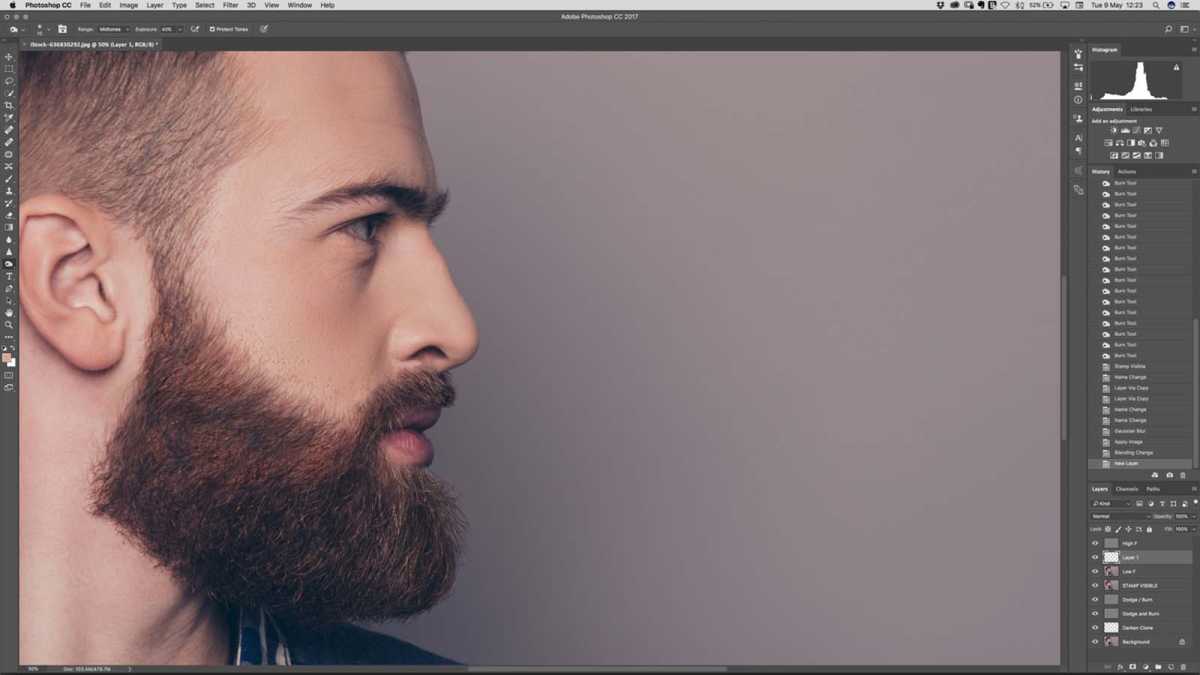
Create a new blank layer between the High Frequency and Low Frequency layers. This layer is where we will non-destructively add in some hair tones to the skin.
Step 21

Foundry
Select the Clone tool ( S ). Go to the tool submenu at the top of your screen and set the sample area to Current & Below.
Choose a soft-edged brush and set the Opacity of your brush to somewhere between 10-20%. Don’t forget to switch your Clone tool’s blending mode back to Normal.
Step 22
Foundry
Hold down Alt and click with your pen or mouse to select your sample area and start blending and correcting the local areas that need attention.
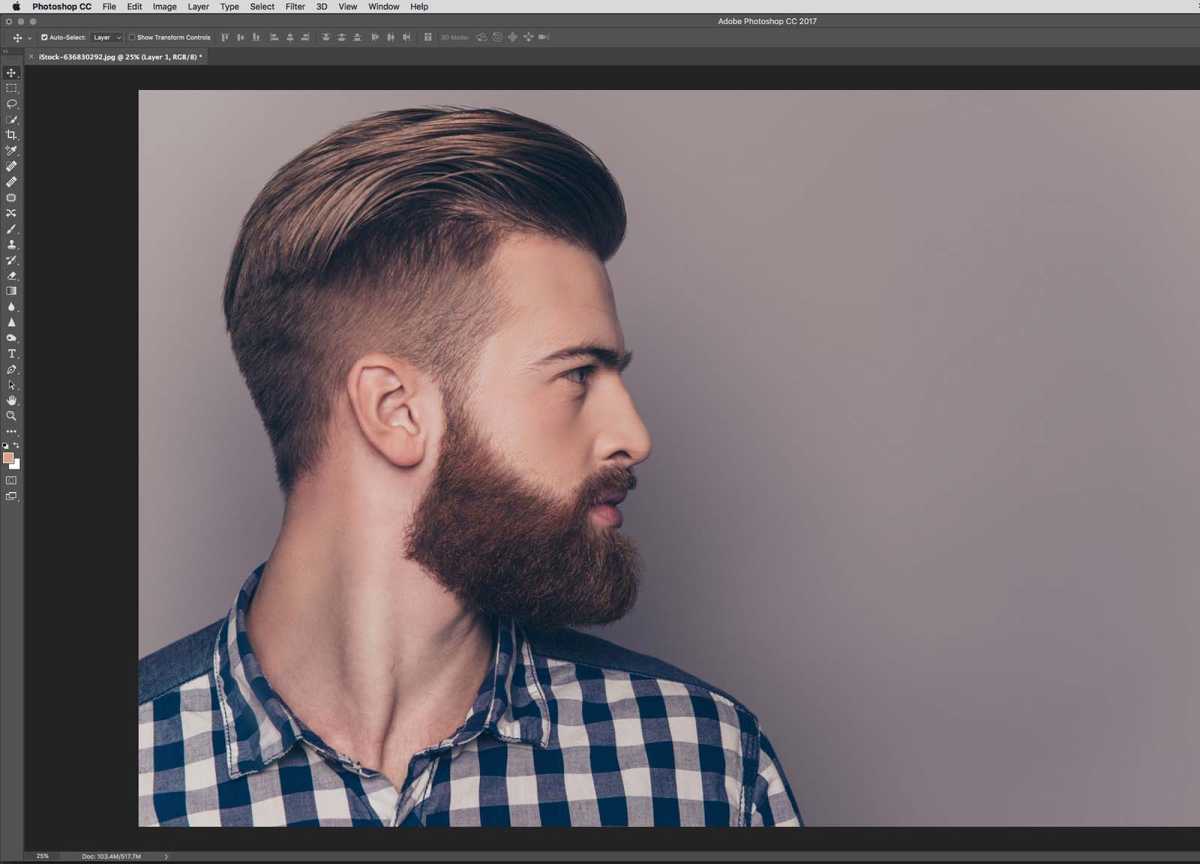
And you’re done.
